Better results
How to take the best photo for AI virtual try-on
Use better lighting, pose, framing, and clothing visibility to give an AI virtual try-on a stronger starting point.
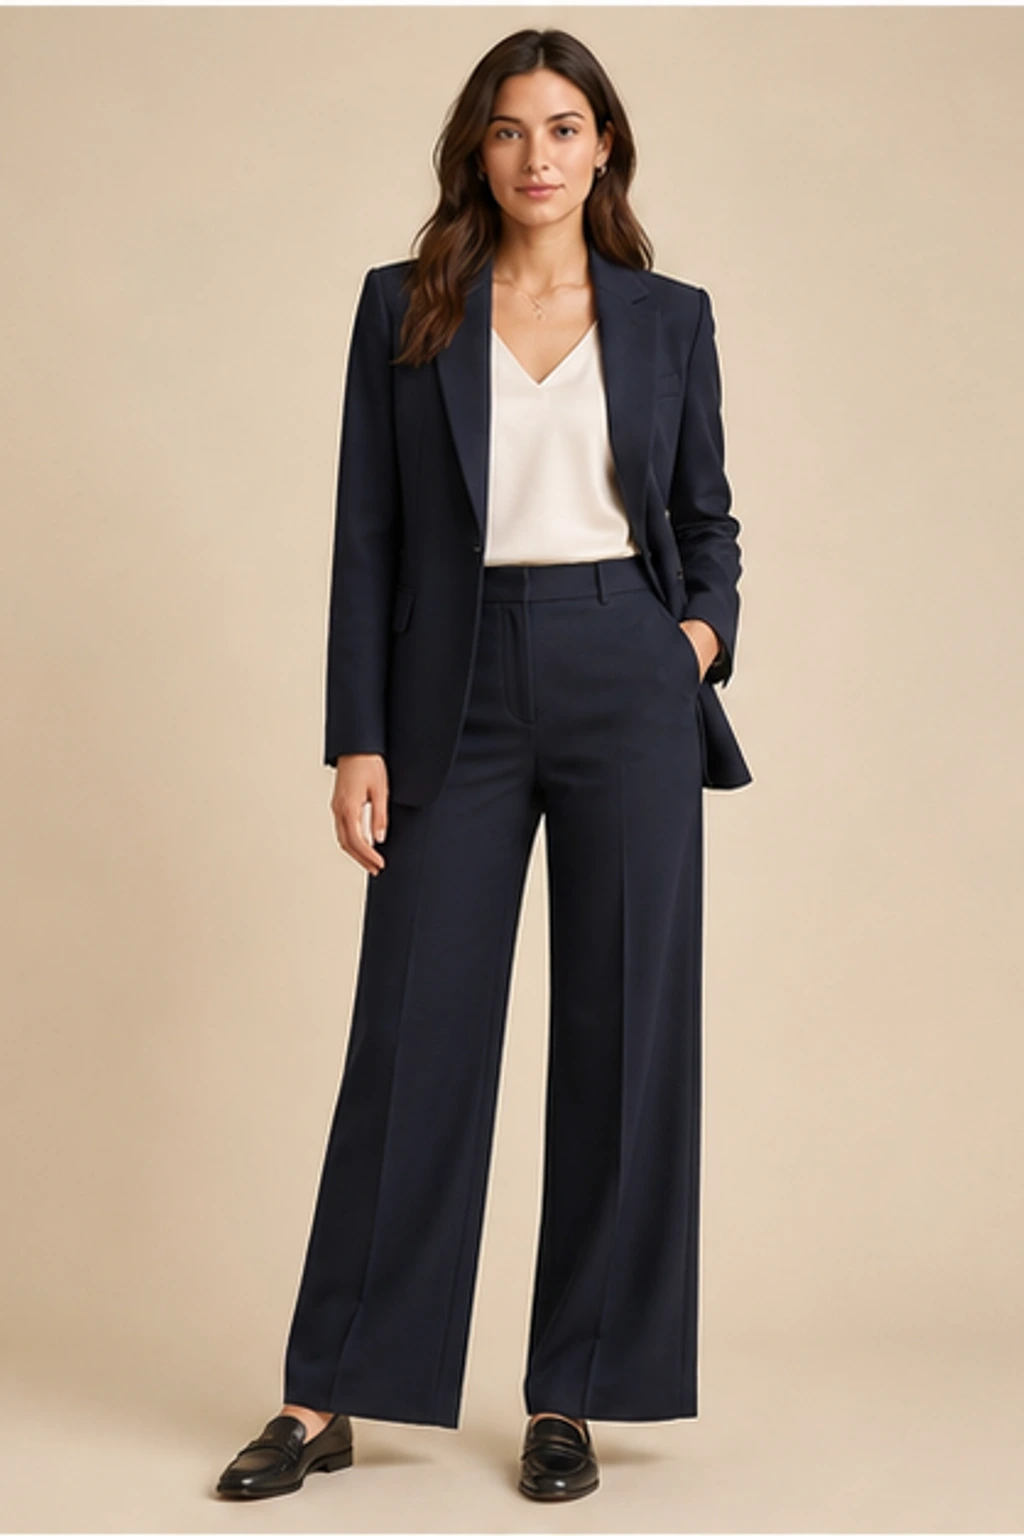
Quick answer
The best input is usually a sharp, evenly lit front-facing photo with one person, a simple background, visible body contours, and arms slightly separated from the torso.
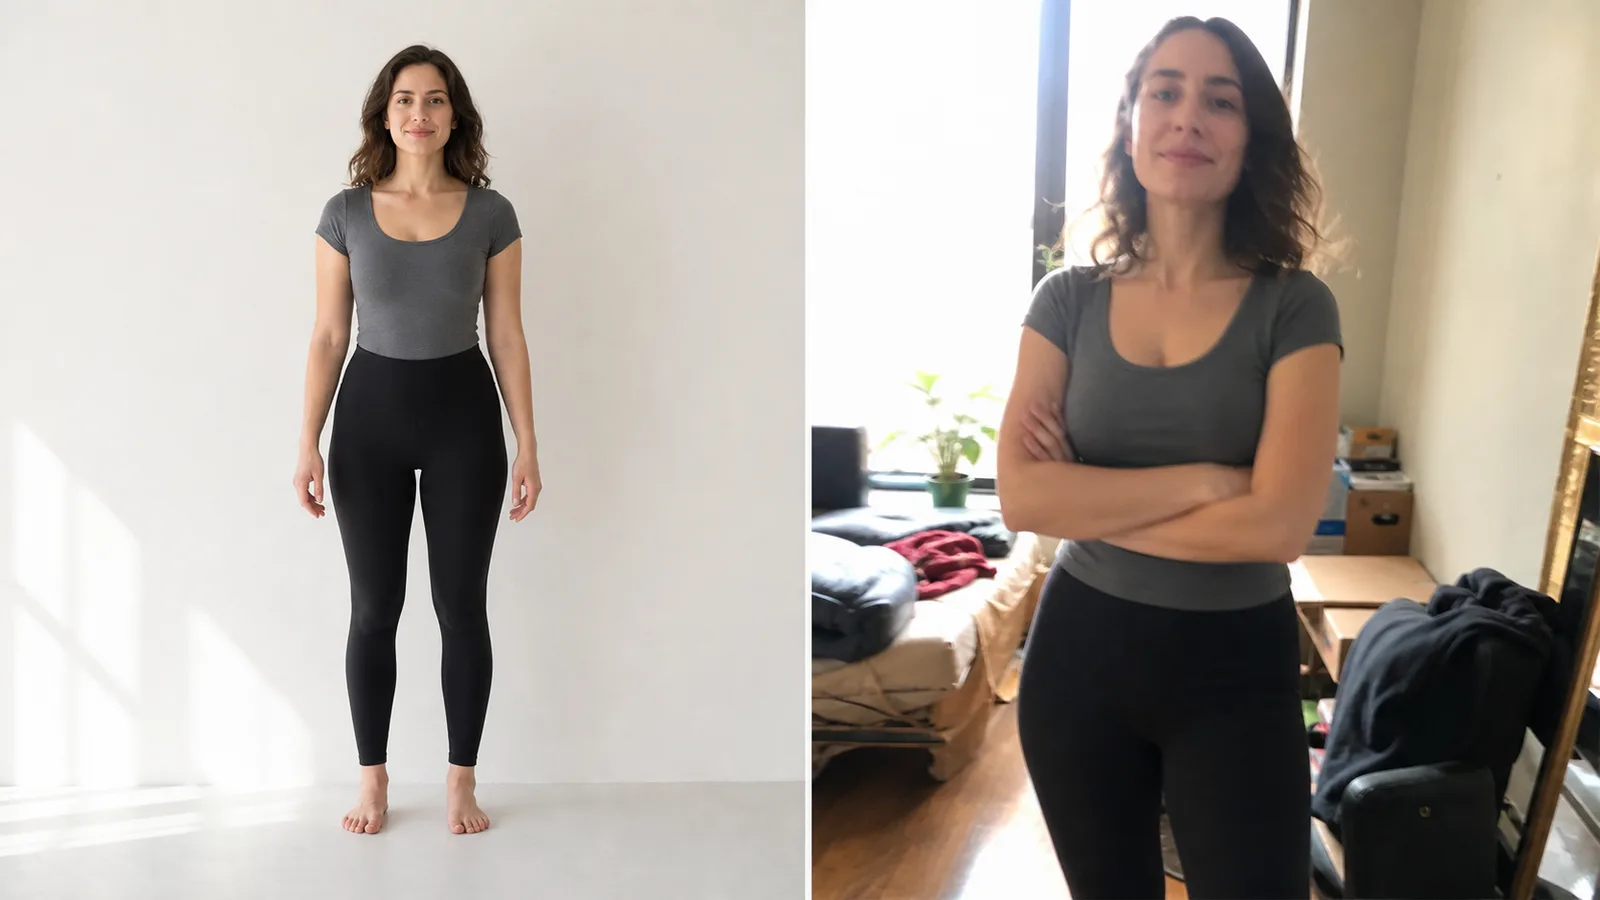
Use even, natural-looking light
Face a window or use soft light from the front. Avoid a bright window behind you, colored club lighting, and very dark shadows across the outfit area.
Choose a readable pose
Stand or sit naturally with the torso visible. Leave a small gap between arms and body so sleeves, waist, and side seams are not hidden.
- Face the camera or turn only slightly
- Keep both shoulders readable
- Avoid crossed arms and hands covering the waist
Frame for the garment you want to try
A waist-up photo can work for tops and jackets. Dresses, trousers, uniforms, and full outfits need a full-body or three-quarter image with enough room around the subject.
Set up the camera before posing
Use the rear camera when practical, clean the lens, and place the phone around chest or waist height for a full-body image. Step back instead of using an extreme wide-angle lens, which can stretch limbs and distort proportions near the frame edges.
Wear a simple base outfit
A plain fitted T-shirt with straight trousers or leggings usually provides a readable starting silhouette. Avoid a bulky coat, large scarf, wide sleeves, or an existing layered dress when those shapes cover the area you want to replace.
Run a ten-second quality check
Before uploading, zoom in on the face and hands, confirm that the target clothing area is in focus, and check that the body is not cut off at an important joint. Retaking the source photo is usually faster than troubleshooting repeated weak generations.
Adapt the setup for seated and non-standard poses
A seated photo can work when the torso, waist, and relevant limbs remain visible, but fabric and body areas naturally overlap more. Keep hands off the lap when testing skirts or trousers, avoid furniture covering the hem, and choose a camera angle that does not compress the body into the chair.
Create one reusable reference photo
If you plan to test many outfits, spend a few minutes creating a dependable source image once. Use neutral light, a simple base outfit, a consistent camera position, and a natural expression. Reusing this photo makes outfit comparisons fairer and reduces the need to troubleshoot a new pose every time.
Best-photo checklist
- Lens is clean and image is sharp
- Soft light comes from the front or side
- One person fills most of the frame
- Face, hands, torso, and target garment area are visible
- Arms leave a small gap beside the body
- No strong beauty filter or extreme wide-angle distortion
Photo conditions and their likely effect
| Photo condition | Likely effect | Improvement |
|---|---|---|
| Strong backlight | Face and garment area lose usable detail | Turn toward the light source |
| Crossed arms | Sleeves, waist, and garment edges become ambiguous | Relax arms slightly away from the torso |
| Busy room | Background objects may blend into the outfit | Use a plain wall or uncluttered area |
| Heavy coat in source | Body and waist silhouette must be guessed | Use a simple base layer where possible |
Common questions
Is a selfie suitable?
A clear selfie can work for upper-body clothing, but it is less useful for dresses, trousers, or full outfits.
Should I wear tight clothing in the original photo?
A simple outfit with a readable body outline usually creates a clearer starting point than bulky layers or a large coat.
Should the camera be above or below me?
A camera near chest or waist height usually creates more neutral full-body proportions than a steep high or low angle.
Does the background need to be white?
No. It should simply be uncluttered and sufficiently different from the person's clothing and hair.
Can I use a mirror photo?
It can work, but the phone, reflections, and perspective may cover important areas. A direct camera photo is generally easier to interpret.
Ready to try a look?
Choose an outfit, upload one clear photo, and create your own Dressora virtual try-on.