Custom clothing upload
How to upload your own clothes for virtual try-on
Prepare a garment reference that clearly communicates shape, color, pattern, and the complete outfit you want to preview.
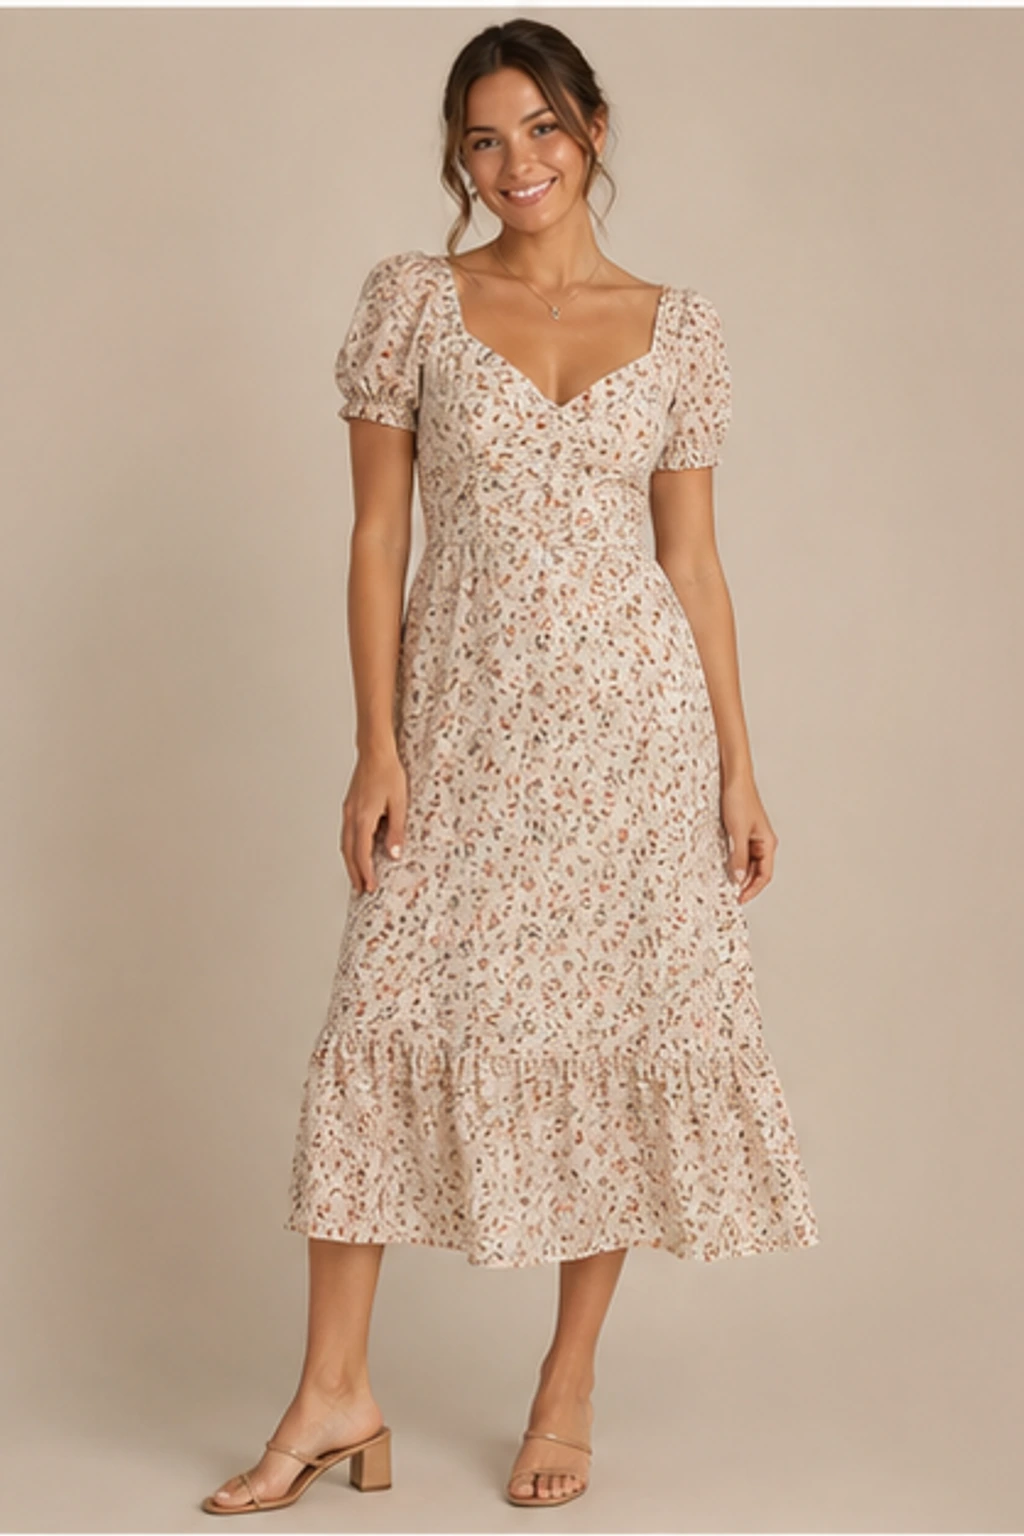
Quick answer
Upload a clean image containing one clearly visible garment or coordinated outfit. Show the complete silhouette, minimize obstructions, and use the highest-quality source image you have.
Choose a useful garment reference
Product photography, flat lays, mannequin shots, and model photos can all work when the clothing is large and unobstructed. Crop away unrelated interface elements and competing products.
Make important details visible
Check that the neckline, sleeves, hem, pattern, and major accessories are readable. If a jacket is closed in the source, the generated result may not reliably infer what is underneath.
- Use one main outfit
- Keep logos and patterns sharp
- Avoid folded or heavily covered garments
Know when to simplify
For a complex layered outfit, first test the strongest overall reference. If details become confused, try a cleaner image or a less obstructed version rather than combining many small references.
Crop for the garment, not the shopping page
Remove navigation bars, prices, recommendation tiles, and unrelated accessories. Keep enough margin to show the full silhouette without shrinking the clothing into a small part of the image. Do not upscale a tiny screenshot and expect missing detail to return.
Choose between product, flat-lay, and worn references
A product or mannequin image is often best for construction and silhouette. A flat lay can work for simple pieces but may hide drape. A worn reference communicates styling and layering, yet hands, hair, and bags can obstruct the garment. Select the source that makes the detail you care about easiest to see.
Handle prints, logos, and layers carefully
Small typography and repeating patterns are difficult to reproduce exactly. Use the sharpest available front view and verify the result at full size. For commercial use, do not treat generated logos, labels, seams, or closures as factual product representation.
Prepare color-accurate references
Use neutral lighting and avoid strong warm, blue, or neon casts. Compare the image with the garment on a calibrated or familiar screen if color matters. A reference photographed under colored light may lead to a visually coherent result that is still inaccurate to the real product.
Use multiple angles only when they solve a real gap
A strong front image should be the default. Add a back or side reference only when an important feature cannot be seen from the front, such as an open back or asymmetric construction. More images are not automatically better; contradictory poses and lighting can make the target less clear.
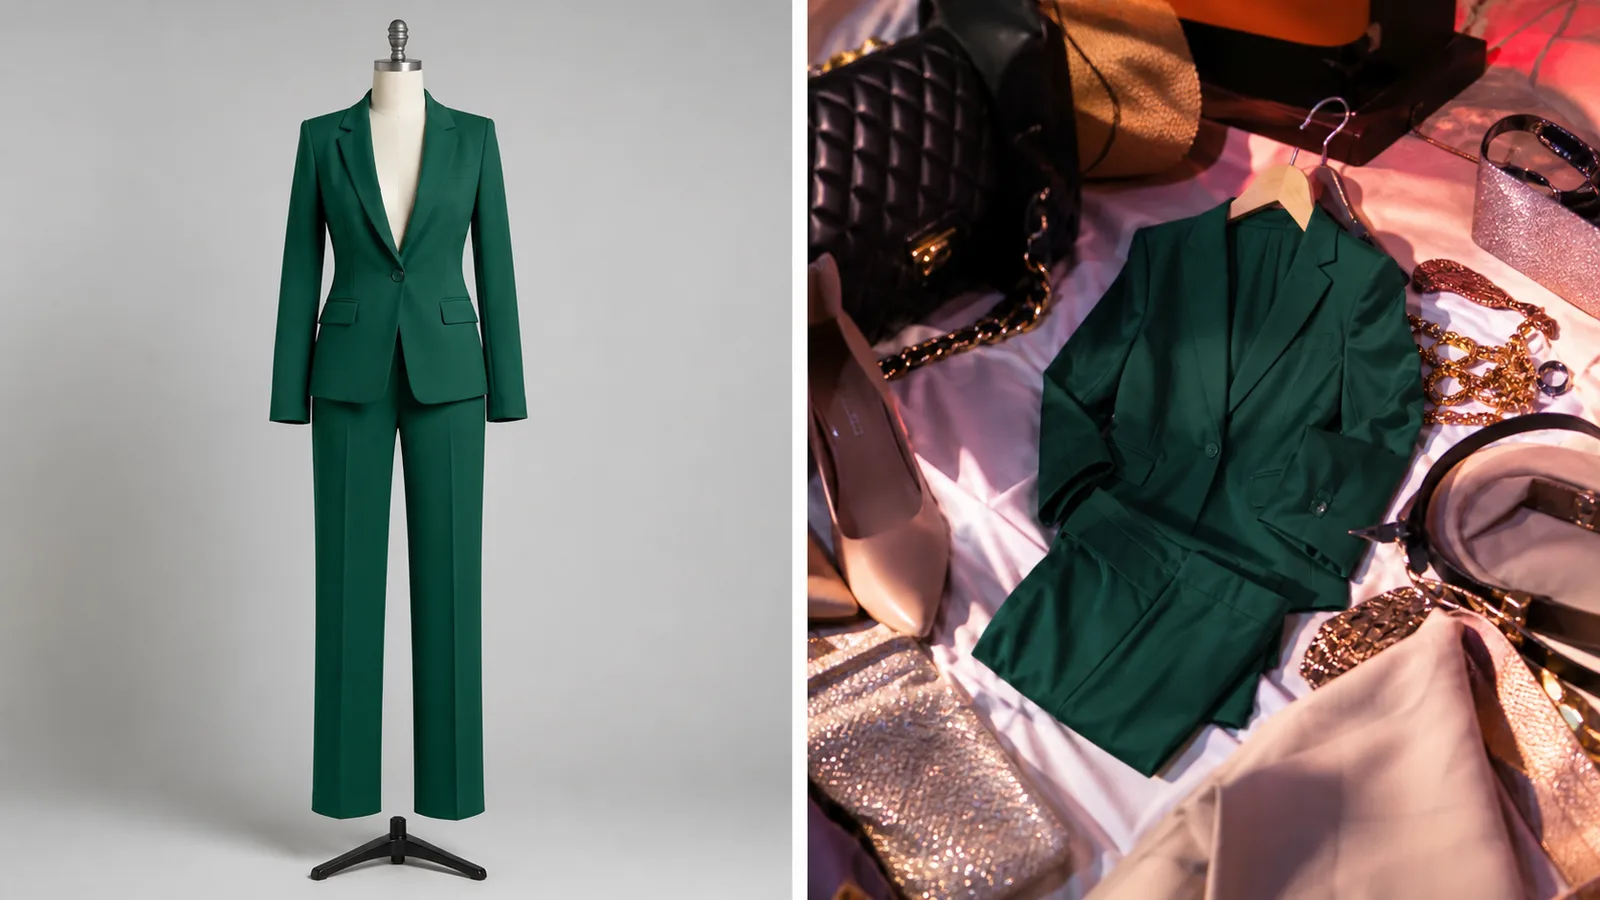
Garment-reference checklist
- One main garment or coordinated outfit
- Full neckline, sleeves, waist, and hem are visible
- Image is sharp enough to inspect pattern edges
- No hands, bags, or hair cover important details
- Lighting shows the actual garment color
- Shopping-page interface has been cropped away
Which garment image should you use?
| Source type | Strength | Main limitation |
|---|---|---|
| Clean product or mannequin photo | Clear silhouette and construction | May not show natural drape |
| Flat lay | Easy to isolate simple garments | Shape on a body must be inferred |
| Garment worn by a model | Shows styling and approximate drape | Pose, hair, and accessories may hide details |
| Shopping screenshot | Fast to capture | Often too small and visually cluttered |
Common questions
Do I need a transparent PNG?
No. A clean ordinary product photo is usually enough; visibility and image quality matter more than transparency.
Can I upload an outfit worn by another person?
Yes, when the outfit is clearly visible, although pose and occlusion can make details less predictable than a clean product image.
Should I remove the background first?
Not necessarily. A clean contrasting background is usually sufficient; visibility matters more than transparency.
Can I combine separate top and bottom images?
A single coordinated outfit reference is more predictable. Separate pieces introduce more composition decisions.
Will text and logos remain exact?
They may not. Always inspect small typography and brand marks, especially before commercial publication.
Ready to try a look?
Choose an outfit, upload one clear photo, and create your own Dressora virtual try-on.