Getting started
How to use an AI clothes changer
A practical, step-by-step guide to changing an outfit in a photo with Dressora while keeping the person and composition recognizable.
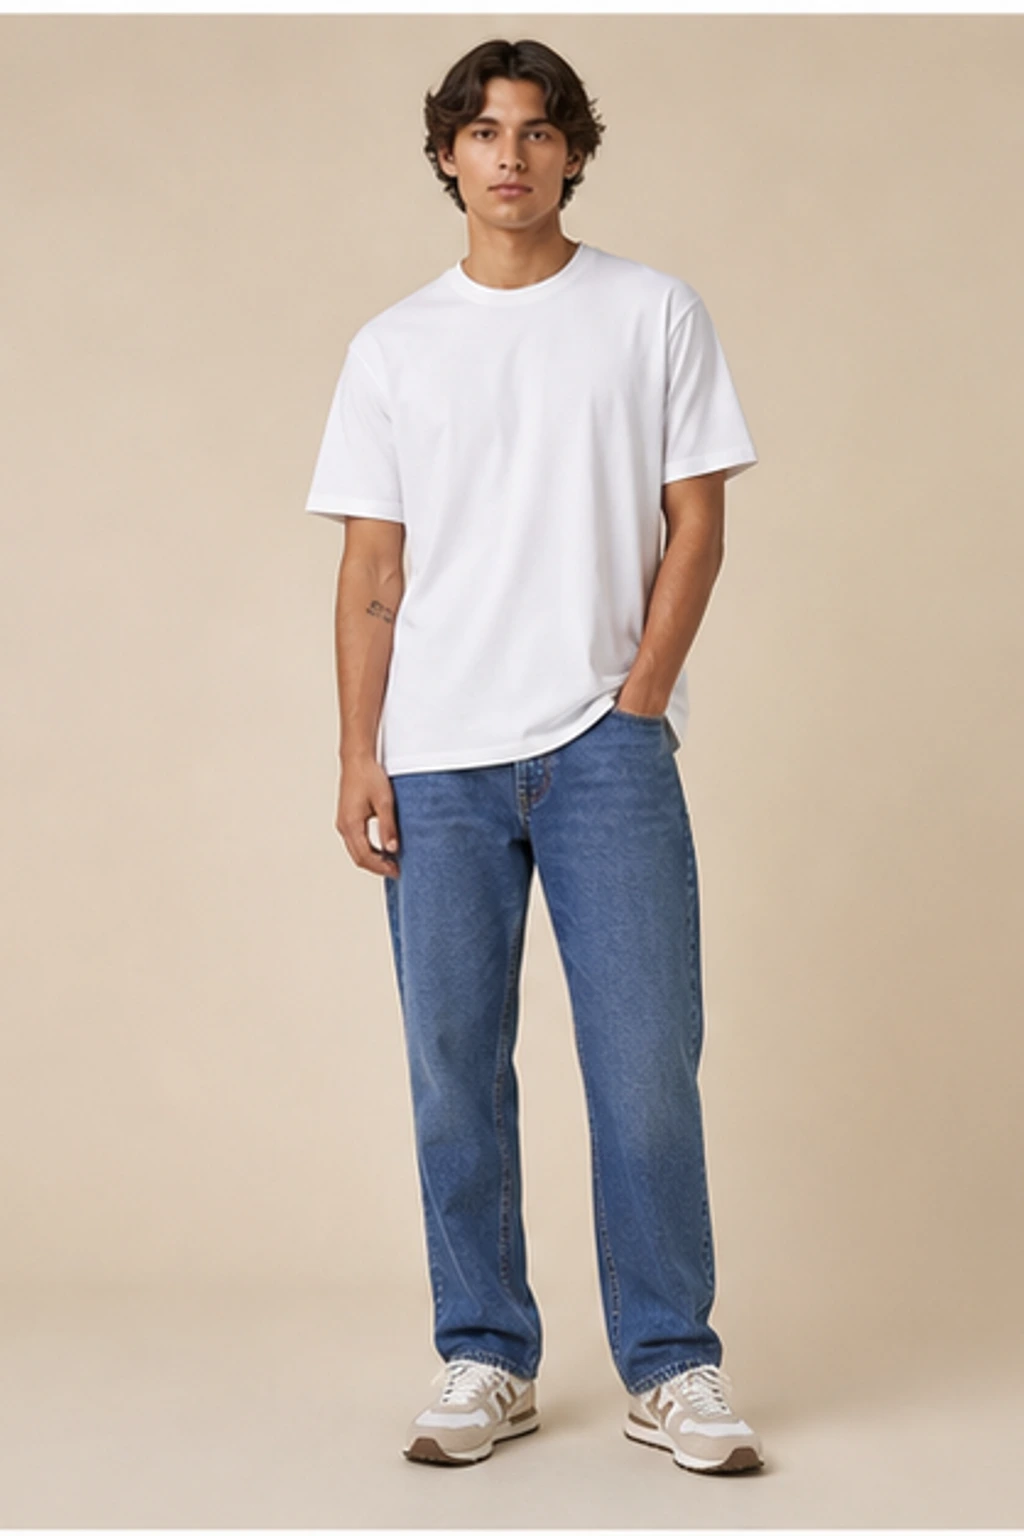
Quick answer
Start with one clear photo of a person, choose a built-in Dressora look or upload a garment image, then generate and inspect the result. Clear inputs and a visible body shape matter more than a long prompt.
Prepare one clear person photo
Choose a sharp portrait or full-body photo with even light. Keep the face visible and leave some space around the body. A simple background and relaxed, front-facing pose give the model clearer visual information.
- Use one person in the frame
- Avoid heavy blur, filters, and deep shadows
- Keep hands away from important garment edges when possible
Choose how you want to change the outfit
Open Dressora and either select a ready-made look from the AI closet or upload your own garment reference. A clean product photo or a clearly visible outfit usually works better than a small screenshot with multiple items.
Generate, inspect, and refine
After generation, check the face, hands, neckline, garment edges, pattern, and background. If one area changed too much, improve the relevant input instead of adding a very long prompt. Try a clearer person photo or a cleaner garment reference first.
Decide what must stay unchanged
Before generating, identify the invariants in the source photo: the person's identity, pose, hair, camera angle, and background. The outfit is the intended change. This distinction helps you judge the result consistently instead of accepting an attractive image that no longer looks like the same person.
- Identity: face shape, expression, skin tone, and hair
- Composition: crop, camera angle, and body position
- Environment: background objects, lighting direction, and shadows
Write an optional instruction that adds one useful constraint
The images should carry most of the request. Add a short instruction only when it resolves a real ambiguity—for example, keep the blazer open, preserve the skirt length, or use a clean ecommerce finish. Avoid stacking unrelated requests for a new pose, new room, dramatic lighting, body reshaping, and an outfit change in one generation.
Compare results with a repeatable review
Zoom in rather than judging only the thumbnail. Review identity first, then anatomy, then garment fidelity, and finally overall polish. Save a result only when it is usable for its intended purpose. A social concept may tolerate small fabric differences; a product-facing image requires much stricter verification.
Protect privacy before uploading
Use a photo you own or have permission to edit. Check the background for addresses, school or workplace badges, screens, documents, and other personal information that does not need to be in the image. For children or client photographs, obtain the appropriate consent and avoid uploading material when you are unsure who is authorized to use it.
Organize versions so comparisons remain useful
Keep the original person photo, garment reference, and selected result together. Name exports by outfit or purpose rather than downloading a folder of indistinguishable files. When testing several outfits, reuse the same source portrait and note which input produced each result; this turns experimentation into a repeatable workflow instead of guesswork.
Pre-generation checklist
- One clearly visible person
- Face and target clothing area are sharp
- Pose does not hide the torso or waist
- One dominant garment or coordinated outfit
- No important item is cropped out
- Optional instruction changes only one extra detail
What to adjust when the first result is weak
| Visible problem | Most likely input issue | Best next action |
|---|---|---|
| The person no longer looks the same | Face is small, blurred, filtered, or strongly shadowed | Use a sharper source portrait with even light |
| The outfit is different from the reference | Garment is small, folded, layered, or obstructed | Crop to one clear outfit with the full silhouette visible |
| Hands merge into sleeves | Arms or hands overlap the garment boundary | Choose a pose with arms slightly separated |
| The whole scene changes | The instruction asks for too many changes | Remove styling requests and regenerate the outfit change only |
Common questions
Do I need editing skills?
No. The basic workflow is selecting or uploading an outfit, uploading a person photo, and generating the result in the browser.
Does an AI clothes changer also predict fit and size?
No. It creates a visual styling preview; it does not replace garment measurements, size charts, or a physical fitting.
Should I describe every garment detail in the prompt?
Usually no. A clear garment image communicates shape and color better than a long description. Use text only for a detail the image leaves ambiguous.
How many times should I regenerate?
First improve an ambiguous input. Repeating the same weak inputs may create different artifacts without making the process more reliable.
Can I use a group photo?
A single-person image is safer. With a group, the model may not know which person should receive the outfit.
Ready to try a look?
Choose an outfit, upload one clear photo, and create your own Dressora virtual try-on.